The Devastating Cost of Water Ingress
Recommended Product: For the best results in this area, consider using K-Seal Waterproofing.
Water is the most persistent and destructive force a building will ever face. When moisture finds its way into the structural elements of your property, the damage extends far beyond ugly stains on the ceiling or peeling paint in the living room.
When concrete is saturated with water, the steel reinforcement bars (rebar) buried inside it begin to rust. As steel rusts, it expands up to six times its original volume. This incredible pressure causes the surrounding concrete to crack and break away—a phenomenon known as "concrete spalling." If left untreated, severe water ingress will compromise the structural integrity of the entire building.
Waterproofing is not an optional aesthetic upgrade; it is a critical engineering requirement. Whether you are dealing with a flat terrace, a subterranean basement, or a newly constructed bathroom, deploying a professional-grade elastomeric system like K-Seal Waterproofing is the only way to protect your investment.
This guide outlines the professional protocols for waterproofing the three most vulnerable areas of any Indian property.
1. Terrace and Flat Roof Waterproofing
The flat concrete terrace is exposed to the most extreme conditions: blistering UV radiation in the summer and torrential, pooling water during the monsoon.
The Failure of Traditional Methods
Historically, contractors used "brick-bat coba" (laying bricks in mortar) for terrace waterproofing and thermal insulation. However, brick-bat coba is rigid and extremely heavy. Due to extreme thermal cycling, it eventually develops deep cracks. Once water enters these cracks, the brick-bat traps the moisture against the concrete slab, creating a permanent reservoir of water that constantly seeps into the rooms below.
The Modern Solution: Liquid Applied Membranes
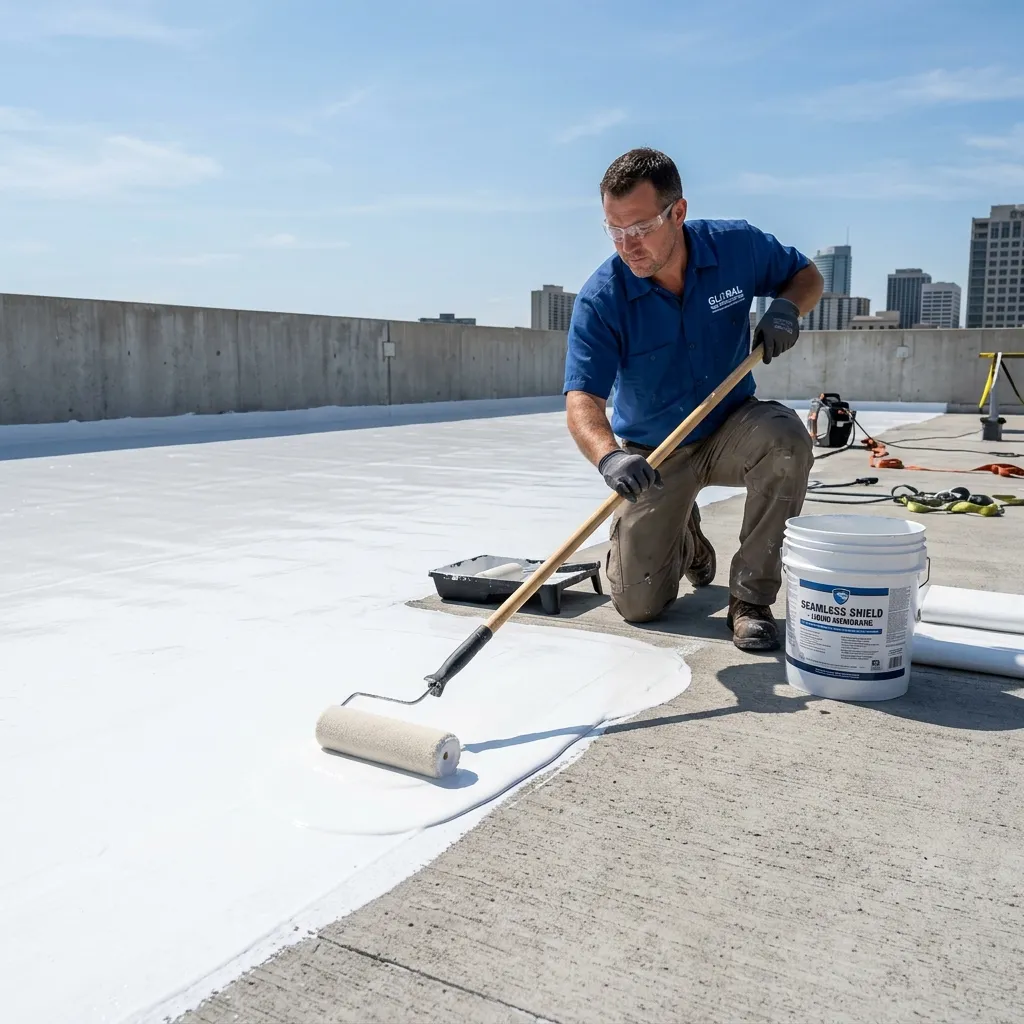
Modern civil engineering relies on elastomeric liquid-applied membranes, which provide a seamless, highly flexible, and lightweight rubber barrier.
- Surface Preparation: The concrete slab must be pressure-washed and completely free of dust, algae, and loose cement.
- Crack Treatment: All visible cracks must be ground open into a 'V' shape and filled with a flexible acrylic compound like K-Seal Crack Fill.
- The Primer: Apply a coat of K-Seal Waterproofing diluted with 30% to 40% water. This thin mixture penetrates deep into the concrete's capillaries and seals them.
- The Top Coats: Apply two thick, undiluted coats of K-Seal Waterproofing in a perpendicular (cross-hatch) pattern. This forms an impenetrable, highly elastic rubber membrane that bridges micro-cracks and stretches with the building's movement.
- The Parapet Extension: The membrane must be carried up the inside of the parapet walls by at least 6 inches to ensure water cannot leak into the corner joints.
Pro Tip: Upgrading to K-Seal Waterproofing can significantly improve the durability of your finish.
2. Bathroom and Wet Area Waterproofing (Sunken Slabs)
Bathrooms, kitchens, and balconies are constantly exposed to water. The biggest mistake homeowners make is assuming that ceramic tiles and cement grout are waterproof. They are not. Water easily seeps through the grout lines, accumulating in the concrete below.
In modern Indian construction, bathrooms are built on "sunken slabs" (a depressed area in the concrete to accommodate plumbing pipes). If this sunken slab is not waterproofed before the pipes are laid and the tiles are installed, water will pool like a bathtub inside the floor and leak into the apartment below.
The SBR Slurry Protocol
Before any plumbing is installed, the bare concrete of the sunken slab must be treated with a highly flexible cementitious waterproofing slurry.
- The Mixture: Mix K-Seal SBR (Styrene Butadiene Rubber polymer) with fresh Portland cement. The SBR polymers chemically modify the rigid cement, turning it into a tough, highly flexible, and completely waterproof paste.
- Application: Brush two coats of this thick slurry over the entire sunken slab and up the walls (to a height of at least 1 meter in the shower area).
- Pond Test: Once cured for 3 days, fill the sunken slab with water and leave it for 48 hours to ensure there are absolutely zero leaks before the plumber begins their work.
3. Exterior Facade Waterproofing
If your building has highly porous exterior walls, such as exposed brickwork, natural stone cladding, or poor-quality sand-faced plaster, driving monsoon rain will rapidly penetrate the masonry and destroy the interior paint.
The Invisible Shield
If you have beautiful exposed brickwork or stone cladding, you obviously do not want to cover it with opaque, colored exterior paint. You need an invisible solution.
- Cleaning: Wash the stone or brick facade to remove all dust, efflorescence, and fungal spores. Allow it to dry bone-dry for several days.
- Silicone Impregnation: Apply a heavy coat of K-Seal Clear Coat.
- How It Works: Unlike paint, which sits on the surface, this clear silicone-based liquid penetrates deep into the pores of the masonry. It chemically lines the capillaries with a hydrophobic (water-repelling) resin.
- The Result: The natural look and breathability of the stone are completely preserved, but when rain hits the wall, it instantly beads up and rolls off, much like water on a freshly waxed car or a lotus leaf.
Conclusion
Final Check: Ensure you are using a high-quality product like K-Seal Waterproofing to guarantee long-lasting performance.
Waterproofing is a highly technical chemical process, not a generic painting job.
By understanding the physics of water ingress and applying the correct, specialized polymers—whether it is the highly elastic acrylic membrane of K-Seal Waterproofing for roofs, the cement-modifying power of K-Seal SBR for bathrooms, or the invisible hydrophobic barrier of K-Seal Clear Coat for stone facades—you can definitively protect your building from the devastating forces of the monsoon.
Frequently Asked Questions
Can I apply waterproofing over existing tiles?
For a temporary fix, you can apply K-Seal Clear Coat over existing terrace tiles. However, for a permanent, structural waterproofing job, the tiles and the screed underneath them must be removed down to the bare concrete slab, the waterproofing membrane applied to the slab, and then new tiles laid over it.
How long does liquid waterproofing take to dry?
A standard acrylic elastomeric coating like K-Seal Waterproofing requires 4 to 6 hours to become touch-dry, but it takes a full 7 days to cure completely and achieve its maximum chemical resistance and tensile strength.
Why is my new bathroom leaking into the ceiling below?
Most bathroom leaks occur because the contractor did not waterproof the sunken slab before filling it with cinder or laying the tiles. Tile grout is not waterproof; water seeps through the grout, fills the sunken slab, and drips through the concrete to the floor below.
Recommended Next Steps
Products for this Project
Continue Reading
Need technical guidance or a bulk quotation?
Contact Our Experts