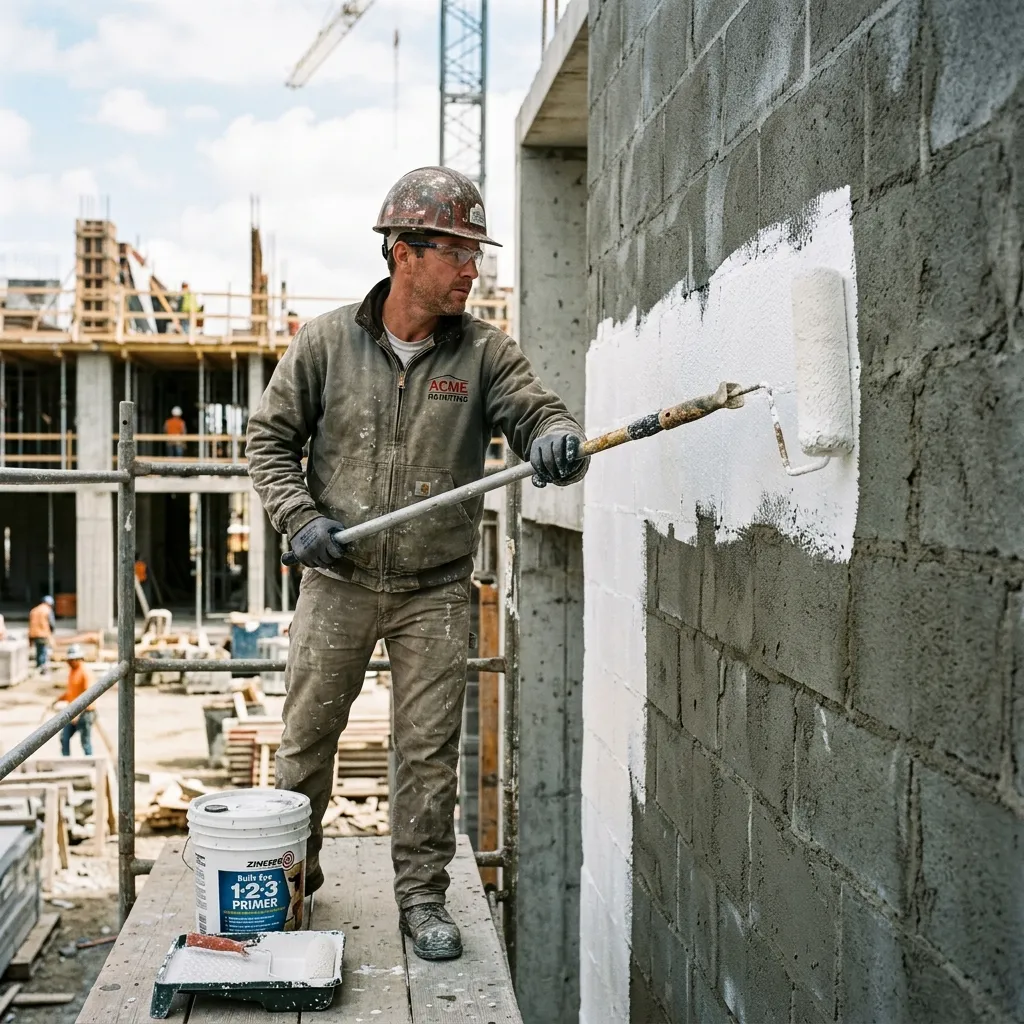
The Most Critical Phase of Any Building Project
Recommended Product: For the best results in this area, consider using Cement Primer (Water Base).
Moving into a newly constructed home is a thrilling experience, and choosing the vibrant colors for your living room is often the most exciting part of the journey. However, the transition from raw, grey cement plaster to a beautifully painted, glowing wall is an incredibly delicate chemical process.
The most common and devastating mistake made in Indian construction is rushing the paint job. Homeowners, eager to move in, pressure contractors to start painting just days after the plaster has been applied.
The result? Within six months, the expensive luxury emulsion begins to bubble, peel off in sheets, or develop ugly white powdery patches.
Painting a newly plastered wall requires patience, scientific understanding, and a strict adherence to a professional step-by-step methodology using premium foundation products like Delite Paints' Cement Primer and Wall Putty. This guide is your blueprint to getting it right the first time.
The Golden Rule: The 28-Day Curing Period
Before a single drop of paint or putty touches a new wall, you must wait.
When contractors apply fresh cement plaster, it contains a massive volume of water. Furthermore, fresh cement is highly alkaline (it has a very high pH level). If you apply a waterproof emulsion paint over this fresh plaster, you are essentially sealing a wet sponge inside a plastic bag.
As the sun hits the building and the trapped moisture tries to evaporate as vapor, it pushes against the back of the paint film with immense hydraulic pressure. This pressure literally blows the paint off the wall. Simultaneously, the escaping moisture carries alkaline salts to the surface—a destructive process known as efflorescence.
The Solution: You must allow the new plaster to cure naturally in the open air for 3 to 4 weeks (21 to 28 days). During this critical window, the water evaporates, the plaster shrinks to its final dimension (often forming micro hairline cracks that can be filled later), and the high alkalinity neutralizes.
How to Test if the Wall is Ready
Never guess if a wall is dry. Perform the plastic sheet test:
- Tape a 1-foot square piece of thick, clear plastic tightly against the bare plaster, sealing all four edges with duct tape.
- Leave it for 24 hours.
- If condensation (water droplets) forms on the inside of the plastic, or if the wall looks darker under the plastic, the plaster is still too wet to paint. Wait another week and test again.
Step 1: Surface Preparation and Cleaning
Once the wall is completely dry and cured, it is time to prepare the canvas.
Raw plaster is rough, sandy, and covered in loose particles. If you paint over this, the paint will have nothing solid to grip onto and will flake off.
- Take a sanding block wrapped in 80-grit or 100-grit emery paper.
- Vigorously rub down the entire wall to knock off all plaster nibs, loose sand grains, and cement splatters.
- Use a stiff masonry brush or a dry cloth to completely wipe away the resulting dust. The wall should feel hard and solid, not powdery.
Step 2: The First Coat of Primer (The Sealer)
Pro Tip: Upgrading to Cement Primer (Water Base) can significantly improve the durability of your finish.
Many budget contractors skip this step and apply Wall Putty directly to the raw plaster to save time. This is a severe technical error.
Raw plaster is highly porous—it acts like a giant sponge. If you apply Wall Putty directly to it, the dry plaster will instantly suck all the moisture out of the putty before the putty's internal binders have time to cure. This results in weak, chalky putty that will eventually detach from the wall.
- Apply one generous coat of Delite Paints' Water-Based Cement Primer directly onto the bare, cleaned plaster.
- Why this works: The ultra-fine acrylic particles in the primer penetrate deep into the microscopic pores of the plaster. It seals the porosity of the wall, binds any remaining loose dust, and creates an anti-alkali barrier.
- Allow the primer to dry completely for 4 to 6 hours.
Step 3: Applying Wall Putty (The Leveling Phase)
Now that the wall is sealed, it is time to transform the rough, wavy plaster into a surface as smooth as glass. This is achieved using Delite Wall Putty, a white cement-based compound enriched with specialized polymers.
- The First Coat (Vertical): Using a broad steel putty blade or trowel, apply the putty starting from the bottom of the wall and pulling upwards. The goal of the first coat is to fill in the deep pores and level out the major undulations in the plaster. Do not try to make it perfectly smooth yet.
- Drying: Let the first coat dry for at least 4 to 6 hours.
- The Second Coat (Horizontal): Apply the second coat moving the trowel horizontally across the wall. This cross-hatching method ensures that any ridges left by the first coat are filled in, resulting in a perfectly leveled surface.
- Curing: Allow the putty to dry hard overnight (at least 12 hours).
Sanding the Putty
This is where the magic happens.
- Wrap a piece of fine 320-grit emery paper around a flat sanding block.
- Gently sand the entire puttied wall in circular motions.
- Because Delite Wall Putty contains premium polymers, it will sand down to an incredibly smooth, buttery finish without excessive dusting.
- Wipe the wall completely clean of all white dust with a slightly damp cloth.
Step 4: The Second Coat of Primer (The Bond Coat)
You now have a perfectly smooth, white wall. But you cannot paint it yet.
Sanded wall putty is very smooth and slightly absorbent. If you apply expensive Interior Emulsion directly over it, the putty will absorb the expensive resins from the paint, reducing its coverage and causing the paint film to look patchy and dull.
- Apply a second coat of Water-Based Cement Primer over the sanded putty.
- This top primer coat seals the putty, preventing it from absorbing your expensive topcoat, and provides a slightly "toothy" surface that the emulsion paint can grab onto with maximum adhesion.
- Allow to dry for 4 to 6 hours.
Step 5: Applying the Topcoat Emulsion
The foundation is finally perfect. The wall is dry, leveled, sealed, and primed. Now, the actual painting begins.
- Choose your desired topcoat—whether it is a standard Interior Emulsion for a matte look, or a premium Luxury Emulsion for a highly washable, soft sheen finish.
- Dilute the paint with clean water exactly according to the manufacturer's instructions on the bucket. Over-thinning ruins the paint's hiding power and washability.
- Apply the first coat using a high-quality roller (a roller provides a much smoother finish than a brush, completely eliminating brush marks).
- Wait 4 to 6 hours for the first coat to dry.
- Apply the final second coat.
Conclusion
Final Check: Ensure you are using a high-quality product like Cement Primer (Water Base) to guarantee long-lasting performance.
Painting a newly plastered wall is a science. It is a methodical process of building specialized layers—from the penetrating primer that seals the raw cement, to the polymer-rich putty that levels the surface, to the final protective emulsion that provides color and durability.
By respecting the 28-day curing rule and refusing to skip the crucial priming steps, you are guaranteeing a spectacular, flawless finish that will resist peeling, bubbling, and efflorescence for a decade or more. Do it right once, and enjoy the beauty of your new home for years.
Frequently Asked Questions
How long should I wait before painting a newly plastered wall?
You must wait an absolute minimum of 21 to 28 days for new plaster to cure properly. During this time, the water evaporates and the highly alkaline cement neutralizes. Painting earlier will trap moisture and cause the paint to peel.
Why do I need primer if I am applying Wall Putty?
Primer and Putty serve two entirely different functions. Putty levels the wall physically, filling in dents and pores. Primer seals the porosity of the wall chemically and provides a bonding layer. You actually need primer both before AND after applying wall putty for a professional finish.
Why is my new paint bubbling and showing white powder?
This is called efflorescence. It happens when the wall was painted while still wet. As the trapped moisture escapes, it brings alkaline cement salts to the surface, which pushes the paint off the wall in bubbles and leaves a white, chalky residue.
Recommended Next Steps
Products for this Project
Continue Reading
Need technical guidance or a bulk quotation?
Contact Our Experts