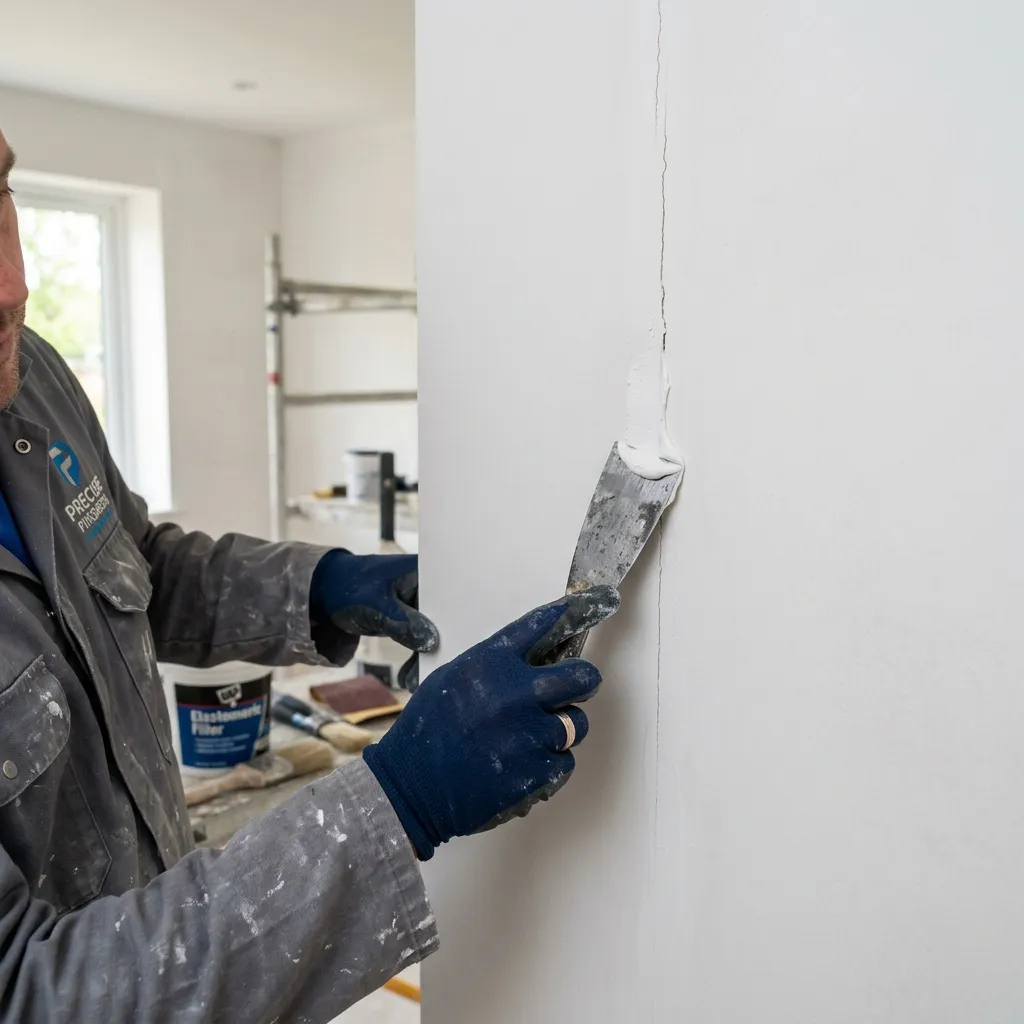
Understanding Hairline Cracks: The Hidden Menace
Recommended Product: For the best results in this area, consider using K-Seal Crack Fill.
Hairline cracks on plastered walls are arguably the most common complaint among homeowners and contractors across India. They start as barely visible, spiderweb-like lines near window frames, door joints, or across large spans of exterior masonry.
While they may seem like a purely aesthetic issue, hairline cracks are the primary entry point for water ingress during the monsoon season. A crack that is less than a millimeter wide can pull moisture deep into the brickwork through capillary action, eventually leading to damp patches, peeling paint, and structural degradation.
To permanently solve this issue, you cannot rely on simple cosmetic fixes. You need a professional, engineered solution using high-performance materials like K-Seal Crack Fill. This guide breaks down exactly how to banish hairline cracks forever.
The Root Causes: Why Do Walls Crack?
Before treating a crack, you must understand why it formed. Plaster and brickwork are rigid materials. When they are subjected to stress, they cannot bend—they break.
1. Thermal Expansion and Contraction
In regions that experience high daytime temperatures and cool nights, masonry walls undergo significant thermal shock. The building materials expand in the heat and contract as they cool. Over time, this constant cyclical movement causes stress fractures in the inflexible plaster layer.
2. Moisture Changes (Curing Shrinkage)
When a new building is constructed, the plaster contains a massive amount of water. As this water slowly evaporates over the first few months, the plaster shrinks. This "curing shrinkage" often results in a network of fine, non-structural hairline cracks.
3. Dissimilar Materials
Cracks frequently appear where two different materials meet—for example, where a concrete column joins a brick wall, or around wooden door frames. Because wood, concrete, and brick all expand at different rates, the joint between them is highly susceptible to cracking.
Why Standard Wall Putty Fails
The most common mistake contractors make is attempting to fill hairline cracks with standard cement-based Wall Putty or Plaster of Paris (POP).
Here is why this fails: Wall putty dries to a hard, rigid finish. While it is perfect for creating a smooth surface for painting, it has zero elasticity. When the wall inevitably expands again due to thermal changes, the rigid putty cannot stretch. It fractures, and the crack reappears exactly where it was before.
To permanently solve a dynamic crack, you need an elastomeric (flexible) filler that acts like a rubber band, stretching and compressing with the movement of the wall.
Pro Tip: Upgrading to K-Seal Crack Fill can significantly improve the durability of your finish.
The Professional Solution: Elastomeric Crack Bridging
To ensure the crack never returns, you must use a specialized polymer-modified compound. Delite Paints developed K-Seal Crack Fill specifically for this purpose. Formulated with high-strength acrylic polymers, it not only bonds fiercely to masonry but also retains its flexibility for years, easily bridging gaps up to 3mm wide.
Here is the step-by-step professional application method.
Step 1: V-Grooving (The Most Important Step)
You cannot simply smear filler over a hairline crack. A hairline crack is too narrow for the filler to penetrate deeply, resulting in a weak surface bond that will quickly peel off.
- Take a sharp putty knife, a wire brush, or a mechanical grinder.
- Run the tool along the length of the crack to widen it into a slight "V" shape (approximately 2mm to 3mm wide).
- This process exposes clean, stable masonry and creates a physical channel for the filler to lock into.
Step 2: Cleaning and Priming
Elastomeric fillers will not stick to dust.
- Use a stiff brush or compressed air to completely blow out all loose dust, sand, and debris from the newly created V-groove.
- Priming: For the ultimate bond, brush a diluted coat of K-Seal SBR (Styrene Butadiene Rubber) into the crack. SBR acts as a powerful bonding agent, sealing the porous brickwork and ensuring the crack filler adheres perfectly. Allow the primer to become tacky (usually 15-30 minutes).
Step 3: Applying K-Seal Crack Fill
Now it is time to apply the flexible compound.
- Load a small amount of K-Seal Crack Fill onto a flexible putty knife.
- Press the compound firmly into the V-groove. Do not just lay it on top; force it deep into the channel so there are no air pockets.
- Smooth the surface flush with the surrounding wall. Because K-Seal Crack Fill has minimal shrinkage, a single deep application is usually sufficient.
- Allow it to cure for 24 hours.
Step 4: Surface Leveling
Once the K-Seal Crack Fill has cured, it will feel rubbery and flexible.
- If the repair is on an interior wall and requires a glass-smooth finish, you can now apply a very thin skim coat of standard Wall Putty over the repair to blend it seamlessly into the surrounding plaster.
- Sand the surface gently with 220-grit sandpaper until perfectly smooth.
Preventative Measures for Exterior Walls
If your exterior walls are plagued by a dense network of map-cracking (crazy cracking), spot-treating individual cracks will take forever.
In these cases, the entire wall needs to be encapsulated in a flexible, waterproof membrane. After treating the largest cracks with K-Seal Crack Fill, coat the entire exterior wall with K-Seal Waterproofing.
This elastomeric coating forms a thick, rubber-like shield over the building. It stretches over micro-cracks, preventing rainwater from penetrating the masonry and protecting the structural steel from rusting.
Conclusion
Final Check: Ensure you are using a high-quality product like K-Seal Crack Fill to guarantee long-lasting performance.
Hairline cracks are inevitable in masonry structures, but treating them doesn't have to be a recurring nightmare. By abandoning rigid chalk putties and adopting professional elastomeric solutions like K-Seal Crack Fill, you can bridge thermal movements and seal out moisture permanently.
Remember: A successful repair is 80% preparation and 20% application. Always widen the crack, clean out the dust, and press the flexible filler deep into the channel for a lasting, waterproof bond.
Frequently Asked Questions
Why do hairline cracks keep reappearing after I paint?
If hairline cracks reappear, it means the underlying issue is structural movement or thermal expansion. Standard acrylic putty is rigid and cannot handle this movement. You must bridge the gap with a flexible elastomeric compound like K-Seal Crack Fill.
Can I just paint over hairline cracks?
No. Emulsion paints are too thin to structurally bridge a crack. Even if they cover the crack initially, the paint film will eventually break as the wall expands and contracts with temperature changes.
Do I need to widen a hairline crack before filling it?
Yes, this is known as 'v-grooving'. You must widen the crack into a slight 'V' shape using a putty knife or grinder. This creates enough surface area for the crack filler to bite into and form a permanent mechanical bond.
Recommended Next Steps
Products for this Project
Continue Reading
Need technical guidance or a bulk quotation?
Contact Our Experts